Scheduling overview
The scheduling tool lets clients pick an inspection time themselves from your open availability, using a booking link you send them. No time lands on your calendar until you say so — every booking starts as a request that you confirm or decline.
There's also a public request link for people who aren't clients yet — see Take inspection requests from a public link.
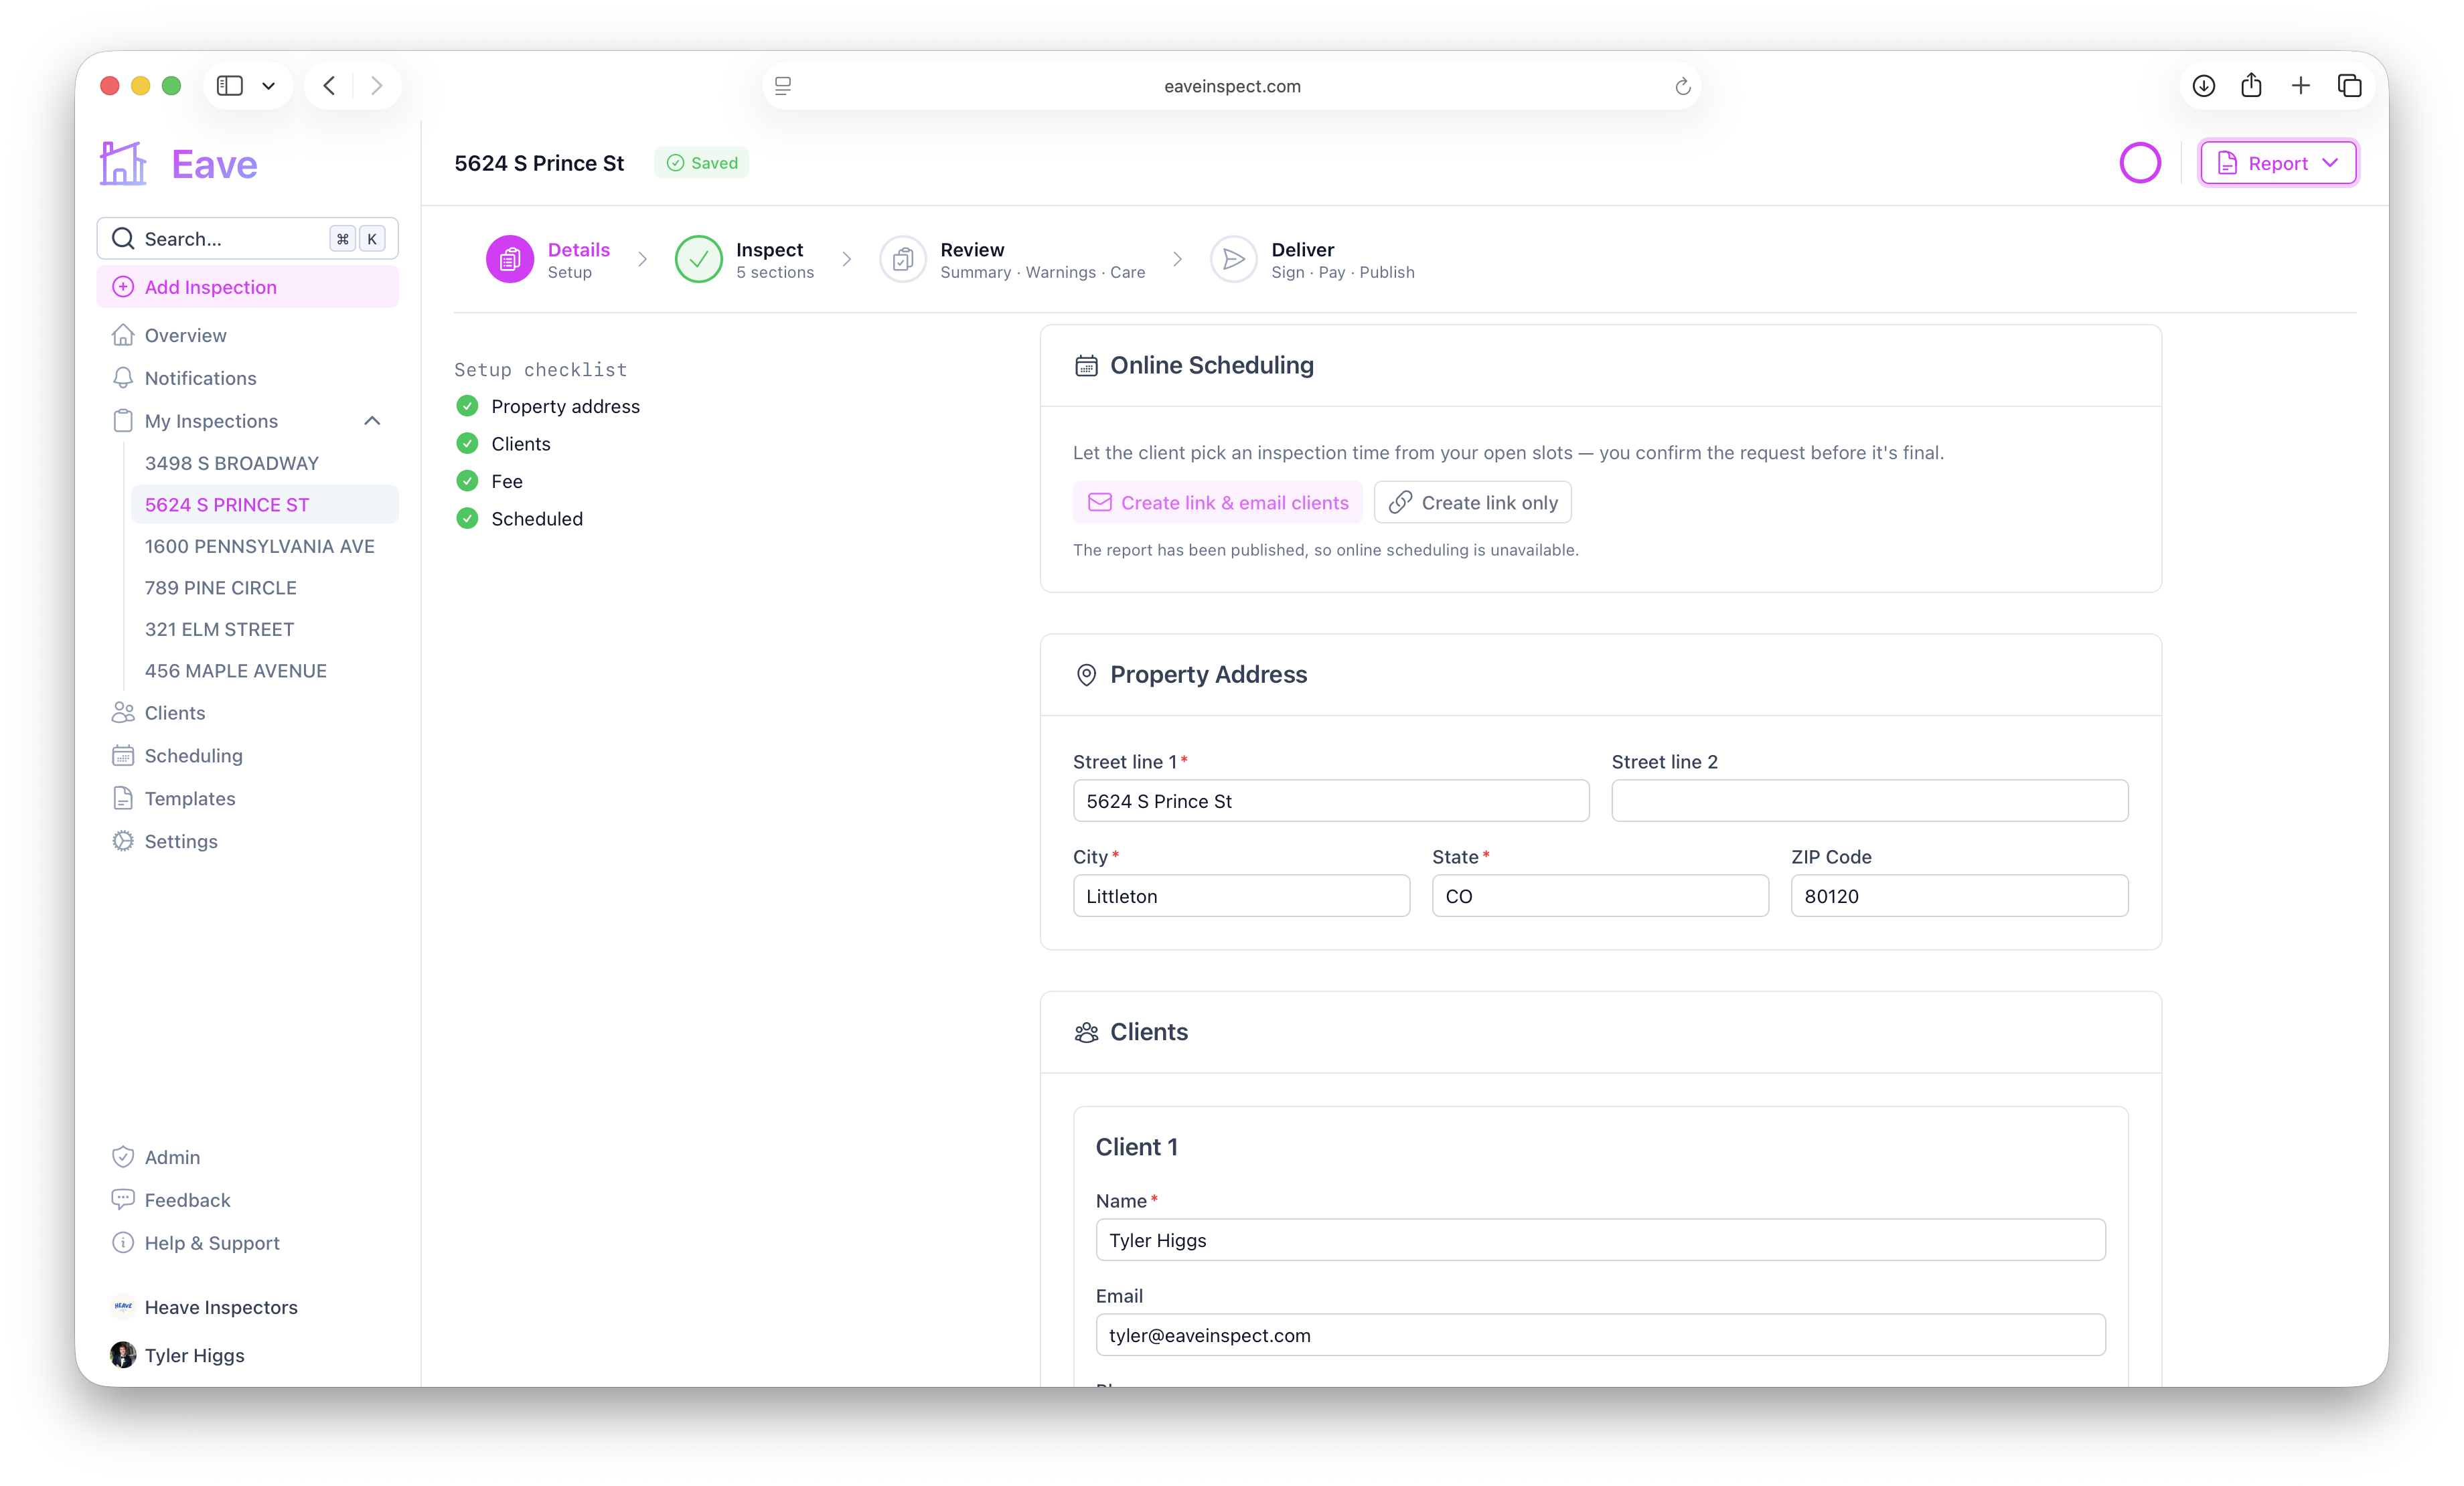
The request → confirm model
- You turn scheduling on and set your working hours (see Configure your availability).
- You create a booking link for an inspection and share it with the client, or let them opt in at creation time (see Turn scheduling on for an inspection, or opt out).
- The client opens the link, picks an open day and time, and submits their details (see What clients see when they book online).
- You review the request on the inspection and click Confirm or Decline. Confirming sets the inspection's scheduled date; declining lets the client pick again.
- Confirming also emails the time to everyone who might want to be there — the clients and the buyer's agent (see Telling attendees when the inspection is).
Skipping step 4
If reviewing every request is more ceremony than you need, turn Confirm before it lands on the calendar off on the Scheduling → Links tab. The time a client picks is then booked immediately, and you're told rather than asked — you still get the notification and the email, and everyone who'd attend gets the confirmed time straight away.
This applies only to per-inspection booking links, on jobs you created and sent the link for. Requests through your public link always wait for you, because anyone can open that one.
Who gets the link
Who gets the link by default, on the same tab, decides who's emailed when you send a booking link without picking recipients yourself — your clients only, your clients and the buyer's agent, or everyone on the inspection. You can always override it per job from the inspection's scheduling card.
Your calendar
The Scheduling → Calendar tab is a month view of your own inspections — not your organization's, yours. It's the tab the page opens on.
Each job is colored by what it needs from you:
- Indigo — Scheduled. A time is confirmed and everyone has been told (or can be).
- Amber — Waiting on you. A client picked a slot through one of your booking links and it isn't final until you confirm it.
- Gray — Draft. An address and a template, quick-created on site or arrived through your request link. Not a committed job yet.
A lead from your public request link is both a draft and a pending request. It shows amber, because confirming it is the thing you can do today.
Days you don't work and days you've blocked off are shaded. Click any day to see it drawn to scale below the grid — your working hours, your time off, your recurring breaks, and each job in its real position with its drive-time buffer around it. Click a job there to open the inspection.
Requests where the client asked you to pick a time have no date, so no day on the grid can hold them. They sit in a strip above the calendar until you deal with them.
Other things you can do
- Block off time — vacations, days off, and recurring breaks like lunch don't need to be part of your weekly hours. See Block time off and recurring breaks.
- Preview before you share — see exactly what a client would see, with no risk of sending a real request. See Preview your booking page as a client.
- Take requests from strangers — one permanent link for your website or business card, turning anyone who finds it into a draft inspection. See Take inspection requests from a public link.
- See jobs in Google Calendar — scheduled inspections are mirrored onto an Eave Inspections calendar in your Google account. See Sync inspections to Google Calendar.