Add an inspection
Creating an inspection captures the property, clients, recipients, fee, and the template(s) you'll fill out. You can start from the sidebar at any time.
Start a new inspection
Click Add Inspection near the top of the sidebar. A four-step form opens.
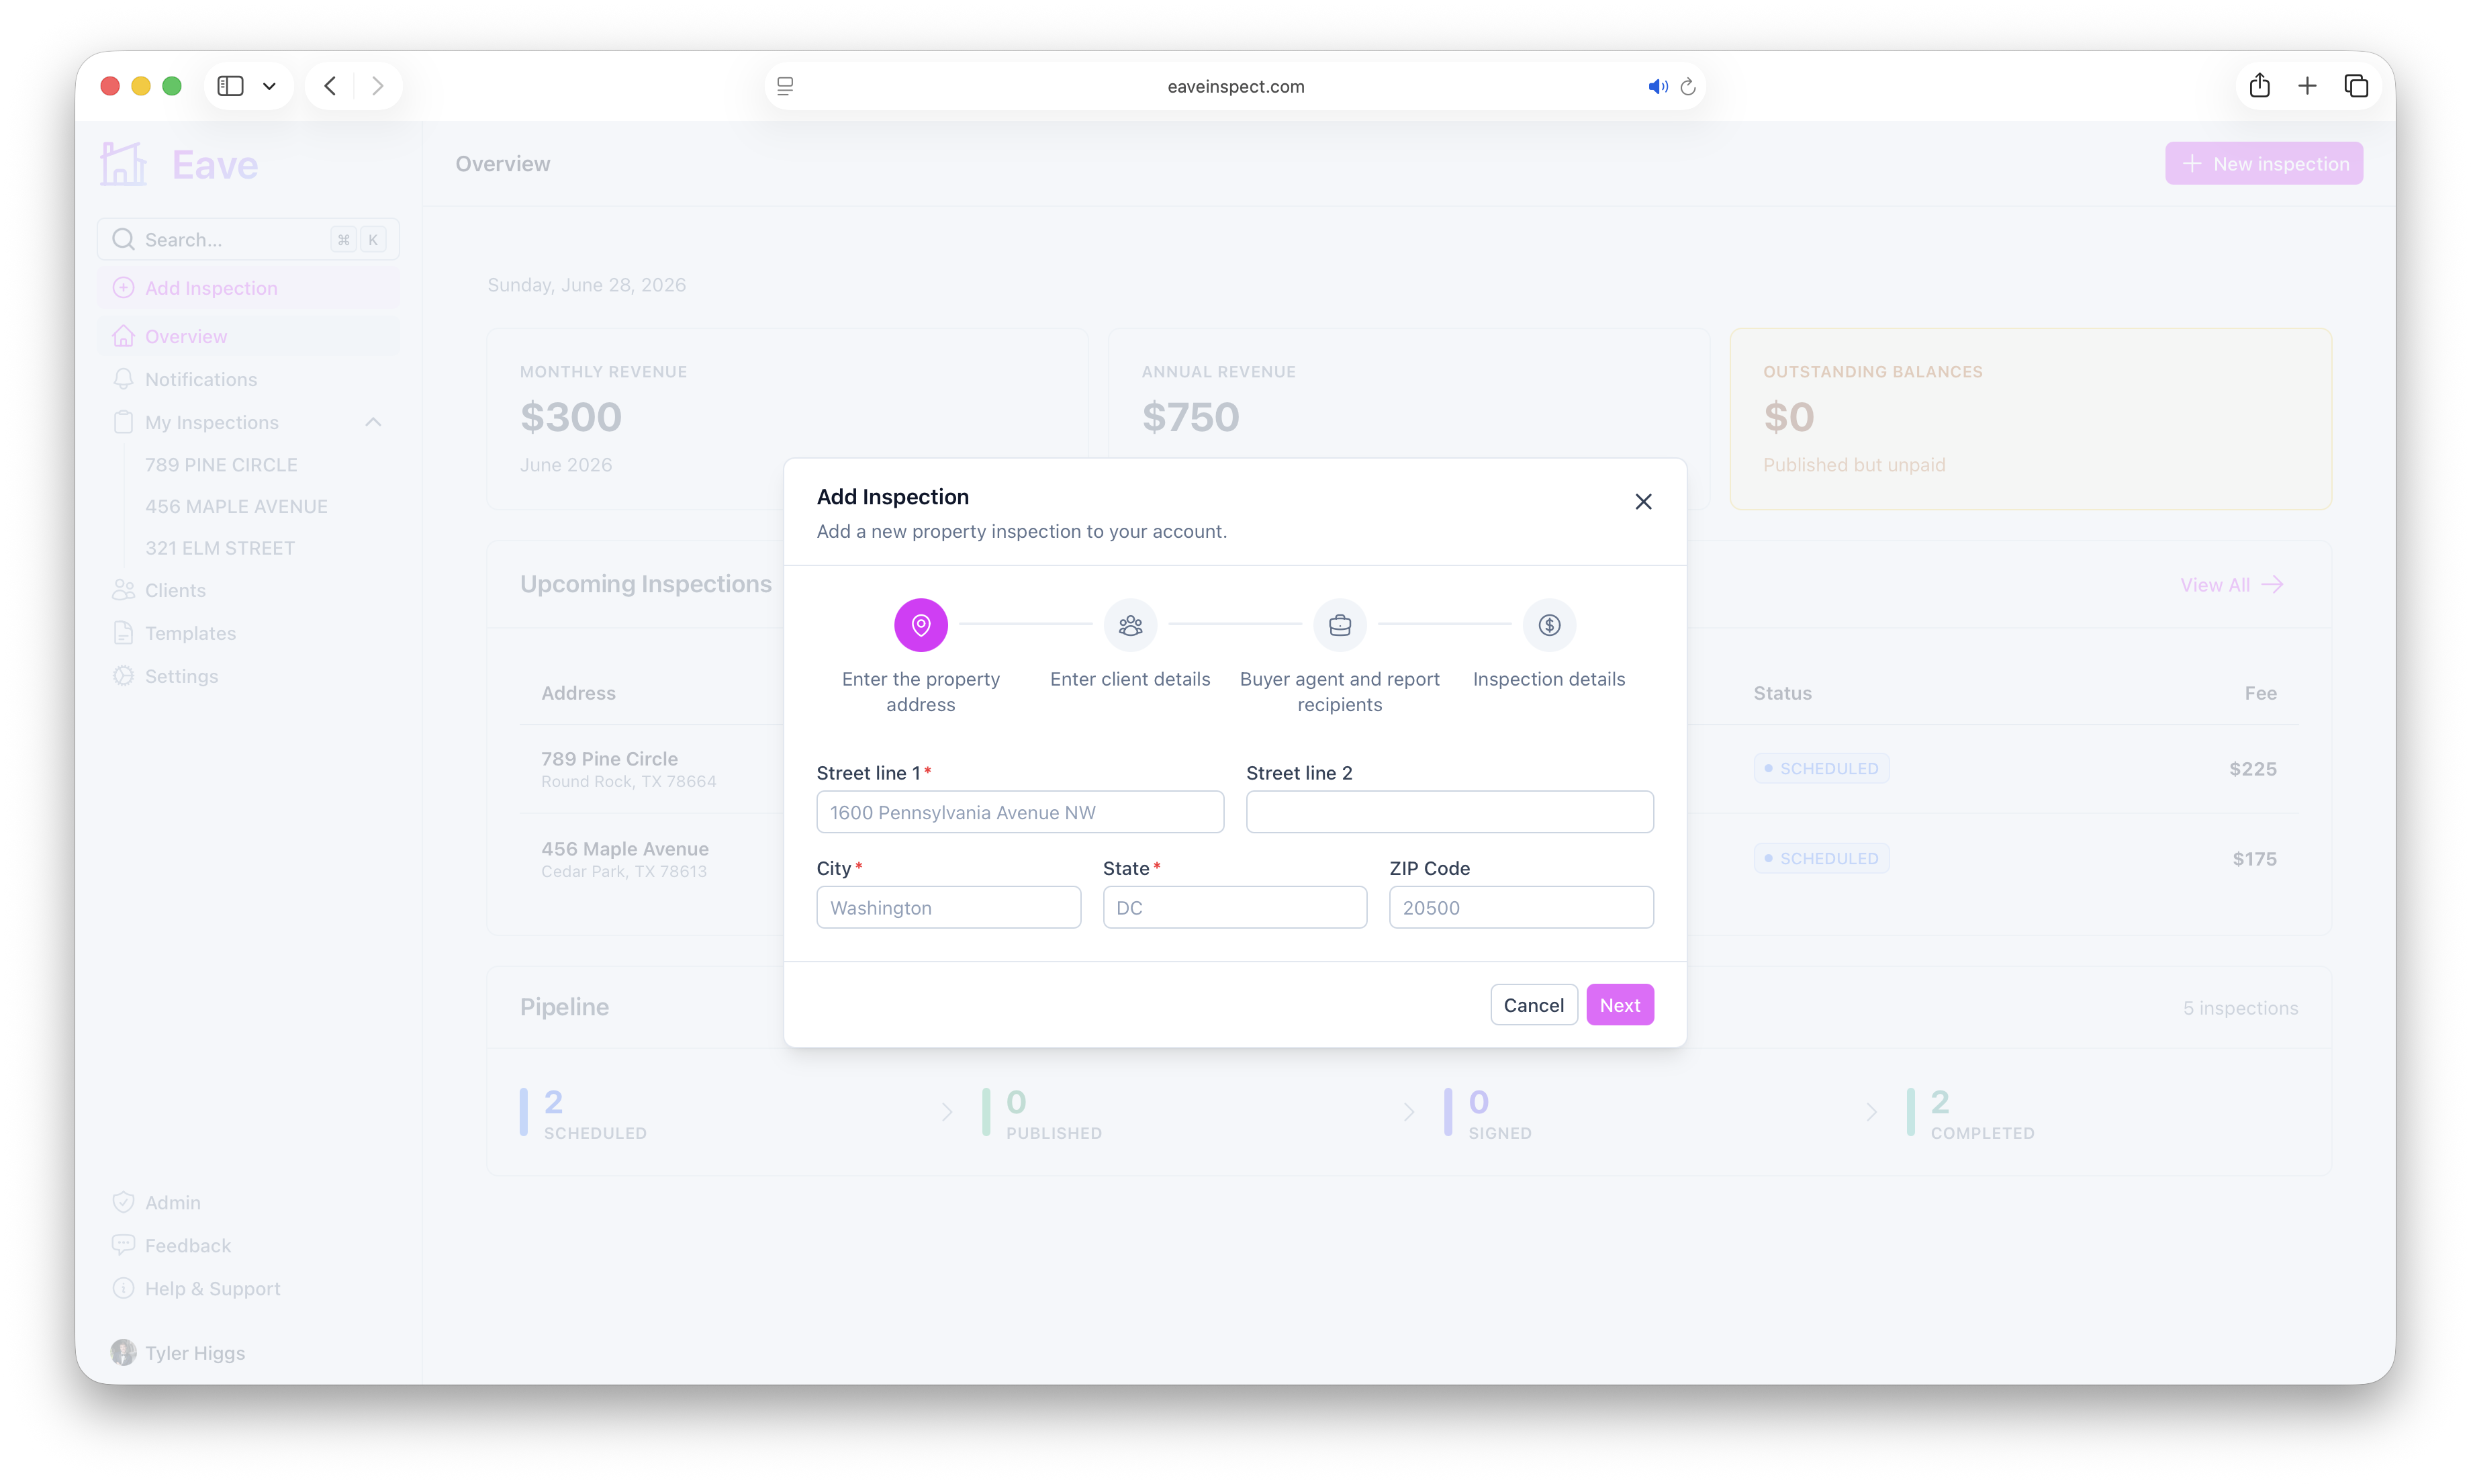
Step 1 — Property address
Enter the street, optional second line, city, state, and zip code for the property being inspected.
Step 2 — Clients
Add at least one client with their name, email, and phone. You can add more than one client (for example, a couple buying a home).
Step 3 — Agents & recipients (optional)
Add the buyer agent (name, email, phone, company) and any additional recipient emails. Recipients receive a view-only copy of the published report — they can read it but can't sign it.
Step 4 — Template, date & fee
- Inspection Templates — select one or more templates to fill out. This defaults to your (or your organization's) default template. See Using templates.
- Date Scheduled — pick the inspection date.
- Inspection Fee — enter the fee. If you've saved a default fee, it fills in automatically; selecting a single template can also pull in that template's default fee. See Set a default inspection fee.
A Pre-inspection agreement switch also appears here (on by default if you collect signatures) — leave it on to have the client sign online before they can view the published report. See Pre-inspection agreements.
Review the summary card, then click Add Inspection. You'll land on the inspection's Details page.
Editing details later
On the inspection's Details page you can update the address, clients, recipients, fee, and date, and set a headline photo for the report cover. These details lock once the report is published — unpublish to edit them again.