Editing a template
The template editor is where you shape exactly what an inspection asks for. Open a template from Your Templates to edit it. (Sample templates must be duplicated first.)
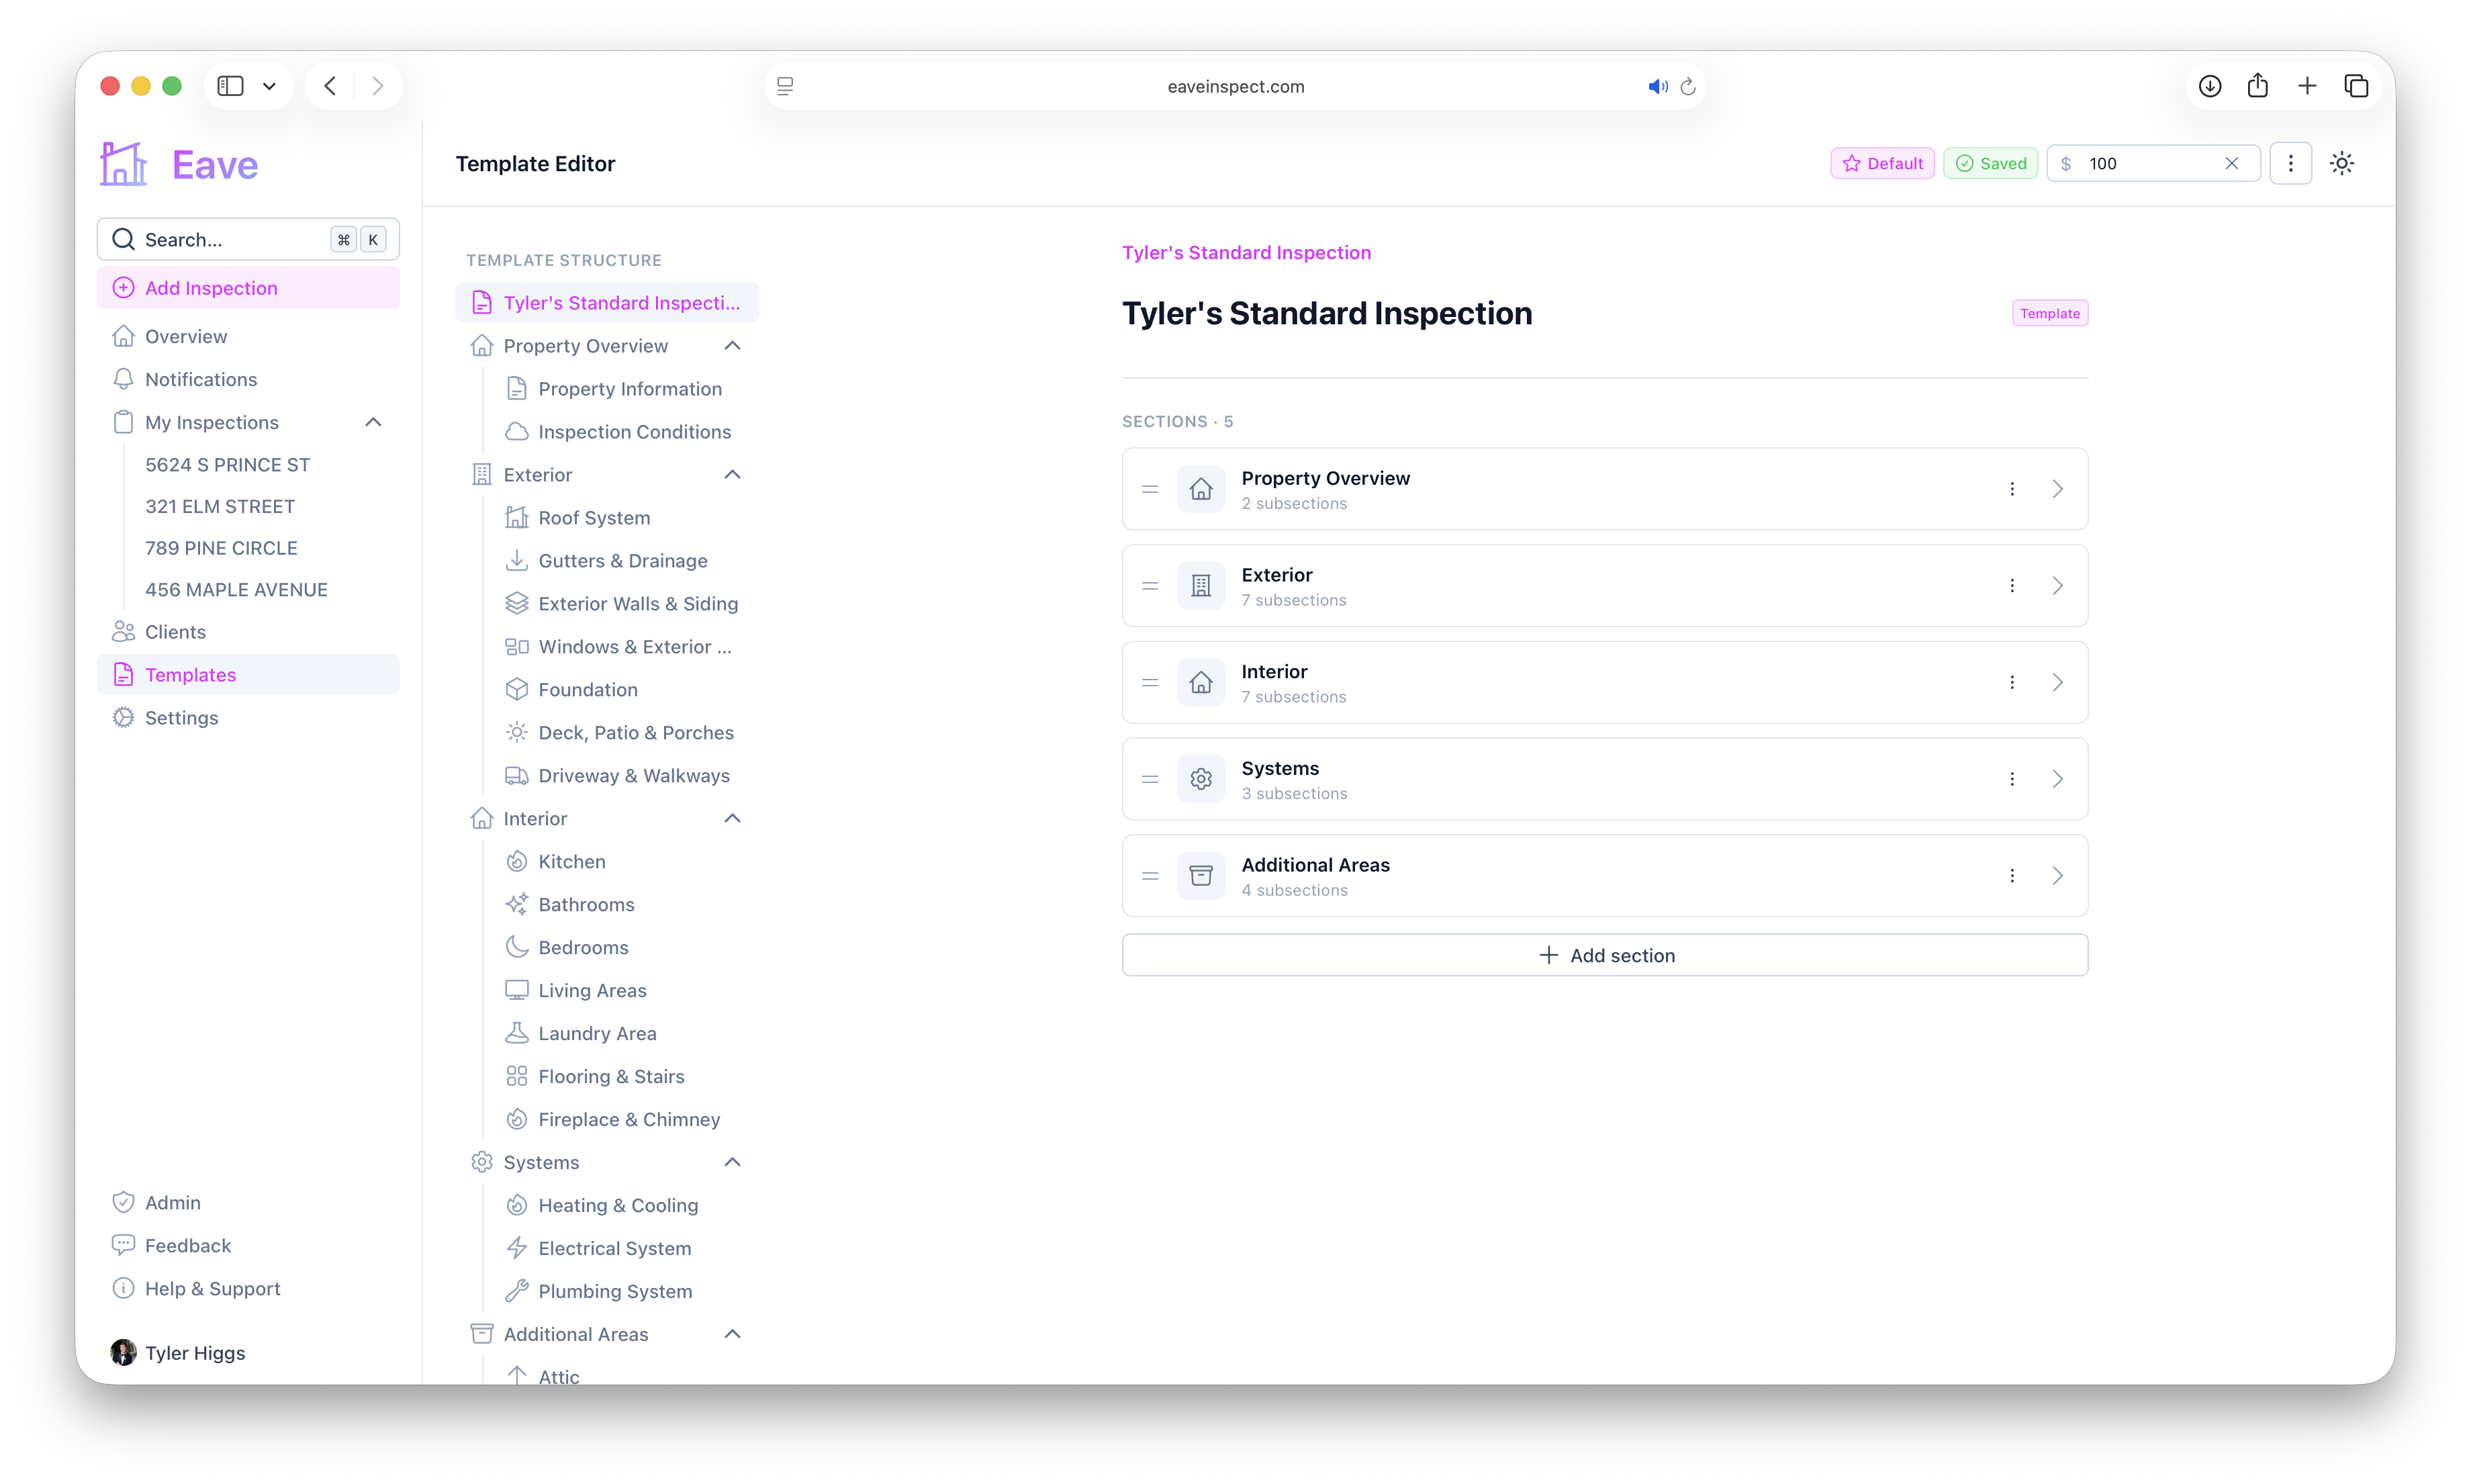
Template basics
There is an additional side bar which determines what part of the template you are editing. The very first item is where you edit top level template info, such as the title, section ordering, and adding/deleting sections. Under that you can choose sections and subsections to edit.
The top-level page also has Summary instructions: notes for Generate with AI on how to write the summary for inspections built from this template. Unlike the rest of the template, these are read when you generate, so changes apply to existing inspections too. See Summary instructions.
Sections
A template is a list of sections (e.g. Exterior, Interior, Systems). For each section you can set a title, an icon (icon or emoji via the icon picker), and an optional description. Use Add Subsection to add children, and the trash button to delete a section.
Section descriptions will default show up under the section title in inspection reports. You can edit them in specific inspections to override what the template says
Subsections
Each section holds subsections (e.g. Roof, Kitchen). Subsections also have a title, icon, and optional description, and contain the actual fields.
Fields
Inside a subsection, Add Field creates a new field. Use the Insert Above / Insert Below options to control where it lands. Every field has a label, a type, an optional placeholder and help text, and a Required toggle.
Field types and their options:
- Text — optionally multiline which allows rich text formatting (bold, italic, bullet points, links, etc.).
- Number — min, max, and unit.
- Yes/No (Boolean).
- Photo — set Max Photos (and max videos).
- Dropdown — list options; optionally allow "Other".
- Multi-select — list options with min/max selections.
- Rating — set a max and optional labels (e.g. Poor → Excellent).
- Date.
You can also set a Default value for a field so inspections start pre-filled.
Build a subsection with AI
Next to Add Field, click Generate with AI and describe what you want in plain English — e.g. "Add fields for roof material, age, and overall condition with a defect checklist." Eave adds the fields, sets their types and options, wires up conditional visibility, and can add warning and home-care triggers. It edits the subsection you're viewing rather than starting over, so existing fields you don't mention are left alone. Review the result before saving — nothing is applied automatically.
Conditional visibility
Turn on Conditional Visibility to show a field only when another field in the same subsection meets a condition (equals, not equals, is empty / not empty, contains / does not contain). This keeps forms short by hiding fields that don't apply.
Warning triggers
Under a field's Warnings section, click Add Warning to flag concerning answers. For each warning set a severity, title, message, and a condition (e.g. trigger when the value equals "Poor"). These are what populate the Warnings page during an inspection.
Home-care triggers
Under Home Care Tips, click Add Tip to attach a maintenance reminder to an answer. Set a frequency (monthly, annual, seasonal, as-needed, and more), a title, message, and a condition. These populate the Home Care page.